


【R】リバースプロキシ+ Dockerを使ったShinyアプリ(Radiant)のインストール

DockerでセットアップしたShiny ServerにRadiantをインストールして、リバースプロキシ(YunoHost)でアクセスする手順です。
オープンソース版のShiny Serverを使っていますが、YunoHost(リバースプロキシ側)で認証もできるようになります。
前提条件
ShinyはDockerを使って自宅サーバーで稼働(Docker Engineはインストール済み)。
VPSのYunohostでリバースプロキシ(SSL終端)
Shiny Serverを稼働させるサブドメインのSSL証明書はYunoHostで設定を済ませておきます。
導入手順
rocker/r-ver:4.3.2で作成。
Shiny Serverがインストール済みのrockerもありそうですが、テストで動作しなかったのでr-ver:4.3.2のイメージからShiny ServerとRadiantをインストールしています。
Dockerfileの作成
Shiny ServerとRadiantの公開設定もDockerfileに記載しています。
FROM rocker/r-ver:4.3.2

LABEL org.opencontainers.image.licenses="GPL-2.0-or-later" \
      org.opencontainers.image.source="https://github.com/rocker-org/rocker-versioned2" \
      org.opencontainers.image.vendor="Rocker Project" \
      org.opencontainers.image.authors="Carl Boettiger <cboettig@ropensci.org>"

ENV S6_VERSION=v2.1.0.2
ENV SHINY_SERVER_VERSION=latest
ENV PANDOC_VERSION=default

RUN /rocker_scripts/install_shiny_server.sh
RUN apt update
RUN apt install -y cmake git
RUN Rscript -e 'install.packages("radiant")'
RUN git clone https://github.com/vnijs/radiant
RUN cp -r radiant/inst /srv/shiny-server/

EXPOSE 3838

CMD ["/init"]
注意点
以前は特に記載が無かったのですが、現在はRadiantの公式サイトに以下のように書かれています。
実際に運用する場合は連絡の上で使用して下さい。
サーバー上で Radiant を使用する予定がある場合は、お手数ですがお知らせください。
https://radiant-rstats.github.io/docs/
docker-compose.ymlの作成
必要に応じて使用するポートは修正して下さい。
version: "3.0"
services:
  shiny_radiant:
    container_name: shiny_radiant
    # To build the image locally, comment out "image" below, and uncomment
    # "build" and the lines indented under it.
    # image: rocker/shiny
    build:
      context: .
      dockerfile: Dockerfile
    restart: always
    # Setting this to something other than 'root' will cause shiny apps not to
    # run on the localhost:80 "Welcome to Shiny" diagnostics page mentioned
    # below.
    user: 'root'
    # Uncomment the lines below to disable application logs STDOUT output
    # environment:
    #   - APPLICATION_LOGS_TO_STDOUT=false
    ports:
      - '3838:3838'
    volumes:
      - 'shiny_logs:/var/log/shiny-server'
      # Comment the line below out for initial testing. With it commented out,
      # going to localhost:80 in one's web browser will show a "Welcome to
      # Shiny Server!" diagnostics page.
      # - './mountpoints/apps:/srv/shiny-server'

volumes:
  shiny_logs:
コンテナを起動
sudo docker compose up -dnginxの設定ファイル(YunoHost)
YunoHostのRedirectアプリが作成した.confファイルのままです。
rewrite ^/radiant$ /radiant/ permanent;
location /radiant/ {

  proxy_pass        http://自宅サーバーのIPアドレス:ポート番号/inst/app/;
  proxy_redirect    off;
  proxy_set_header  Host $host;
  proxy_set_header  X-Real-IP $remote_addr;
  proxy_set_header  X-Forwarded-Proto $scheme;
  proxy_set_header  X-Forwarded-For $proxy_add_x_forwarded_for;
  proxy_set_header  X-Forwarded-Host $server_name;
  proxy_set_header  X-Forwarded-Port $server_port;

  proxy_http_version 1.1;
  proxy_set_header Upgrade $http_upgrade;
  proxy_set_header Connection "upgrade";

  # Include SSOWAT user panel.
  include conf.d/yunohost_panel.conf.inc;
  more_clear_input_headers 'Accept-Encoding';
}
動作確認
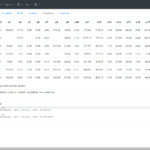
ブラウザからRadantのインストールドメイン・サブディレクトリにアクセスして動作確認をします。
https://インストールドメイン/radiantYunoHostのアプリケーションパネル
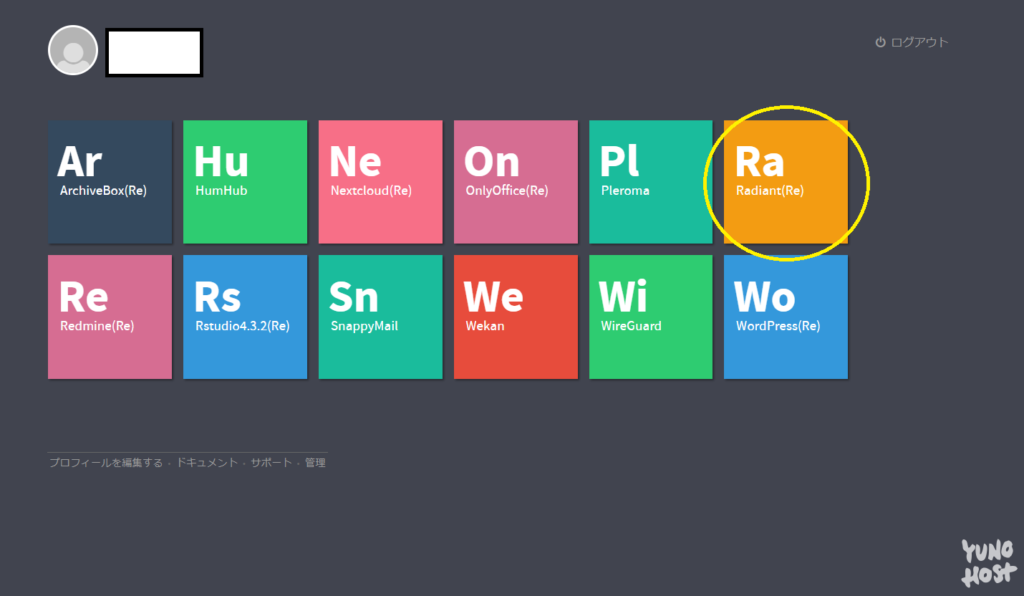
Radiant
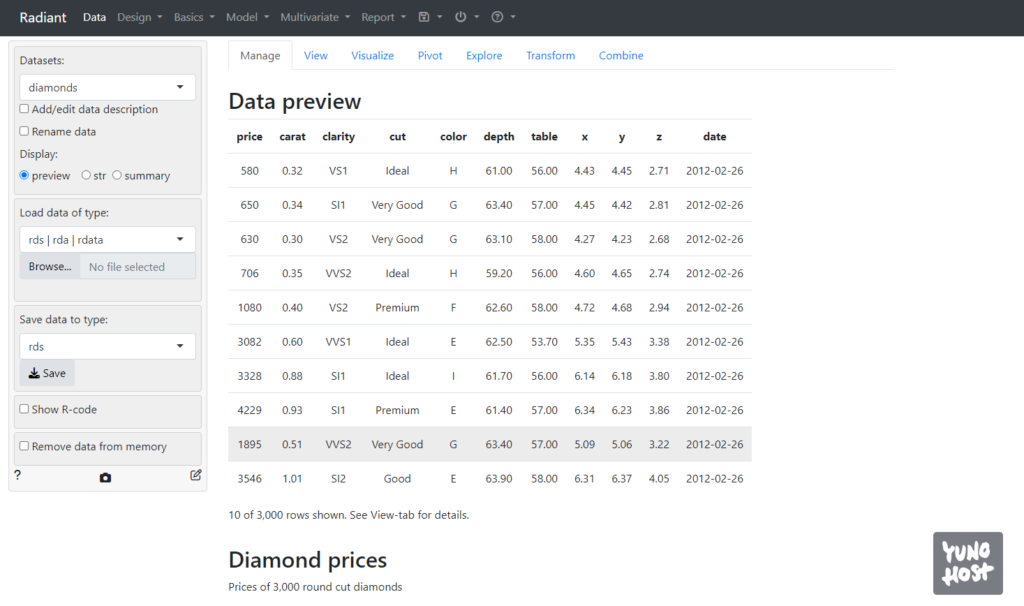
使用感・感想
ローカルのRadiantに比べると少し動作が遅い感じはありますが、ネットワークの速度とサーバーのスペックの影響かと思います。
本格的に使う場合は、以下の2点を修正して下さい。
- 主に動作確認でインストールしたため、セッションを保存するようにはなっていないままです。分析の途中でも画面を閉じると、内容はリセットされます。
- また、アップロードサイズの上限や分析結果を保存する場合はDocker内の.Rprofileを修正する必要があります。
メリット
Radiantに限らず、今回の構成でShinyアプリを動作させるメリットです。
- オープンソース版のShiny Serverでもユーザー認証が可能。
- 各ユーザーがインストールしなくても同じ分析ツールを使用できる。
- ユーザーごとにコンテナをわければ疑似マルチプロセスで動作できる?(←未確認)
特に、最後の疑似マルチプロセスについては今後検証してみようと思います。